Most home security advice falls into one of two traps. Either it assumes you have unlimited money and tells you to buy a whole-home professional monitoring system with outdoor cameras at every corner — or it's so vague it's useless, full of things like "make sure your locks are good" without telling you what good actually means. We're going to do neither. This is the setup we'd actually install, at five real price points, using products that exist right now, with dollar amounts that are honest.
The single most important thing to understand before we start: most residential break-ins are opportunistic. Research consistently shows the average burglar spends less than 60 seconds deciding whether to attempt entry, and the vast majority will move on if they encounter any meaningful resistance. You do not need to turn your home into a fortress. You need to make it clearly more trouble than the next house. That changes how you spend your money completely.
A few ground rules we follow throughout this guide. First, we always prioritize physical barriers over alert systems — a reinforced door prevents entry, a camera records it after the fact. Second, we work from the outside in: exterior lighting and deterrence first, then door and window hardware, then cameras, then interior protection. Third, every tier builds on the one before it. Don't skip ahead.
This tier costs almost nothing and takes an afternoon. If you skip it, everything else you spend money on is built on a broken foundation. We're talking about the stuff that's already in your home, used correctly — plus a few $5 items that make a measurable difference.
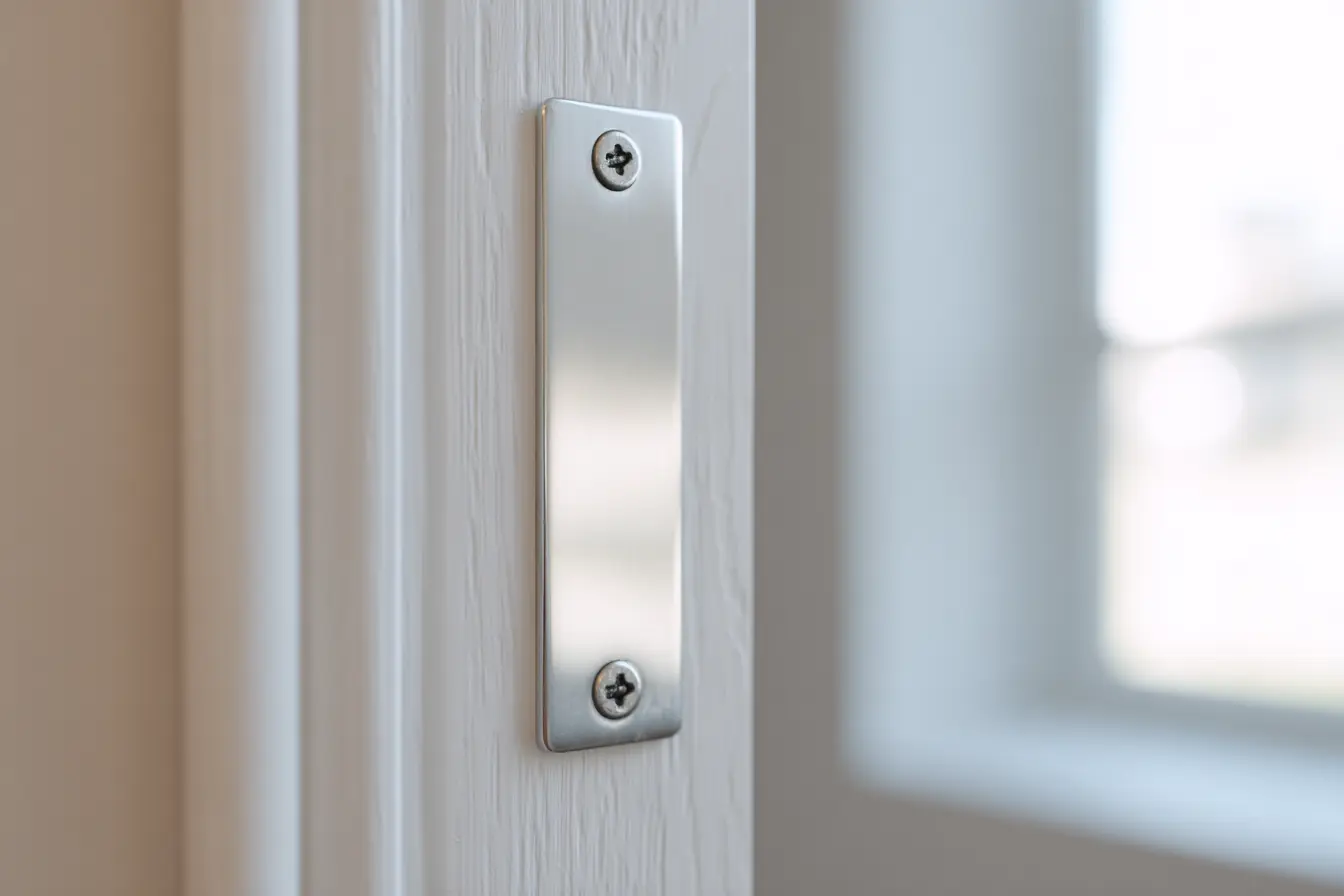
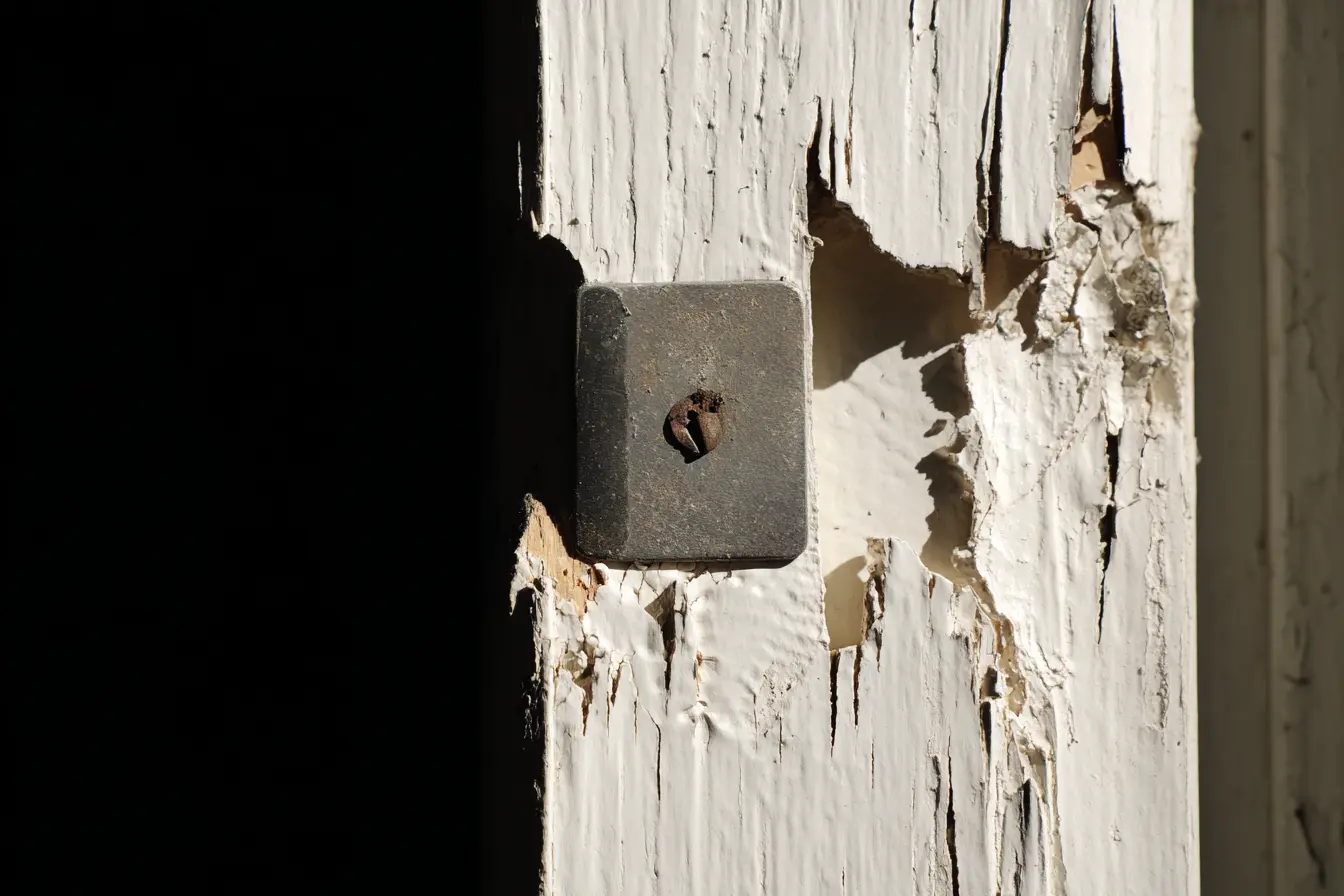
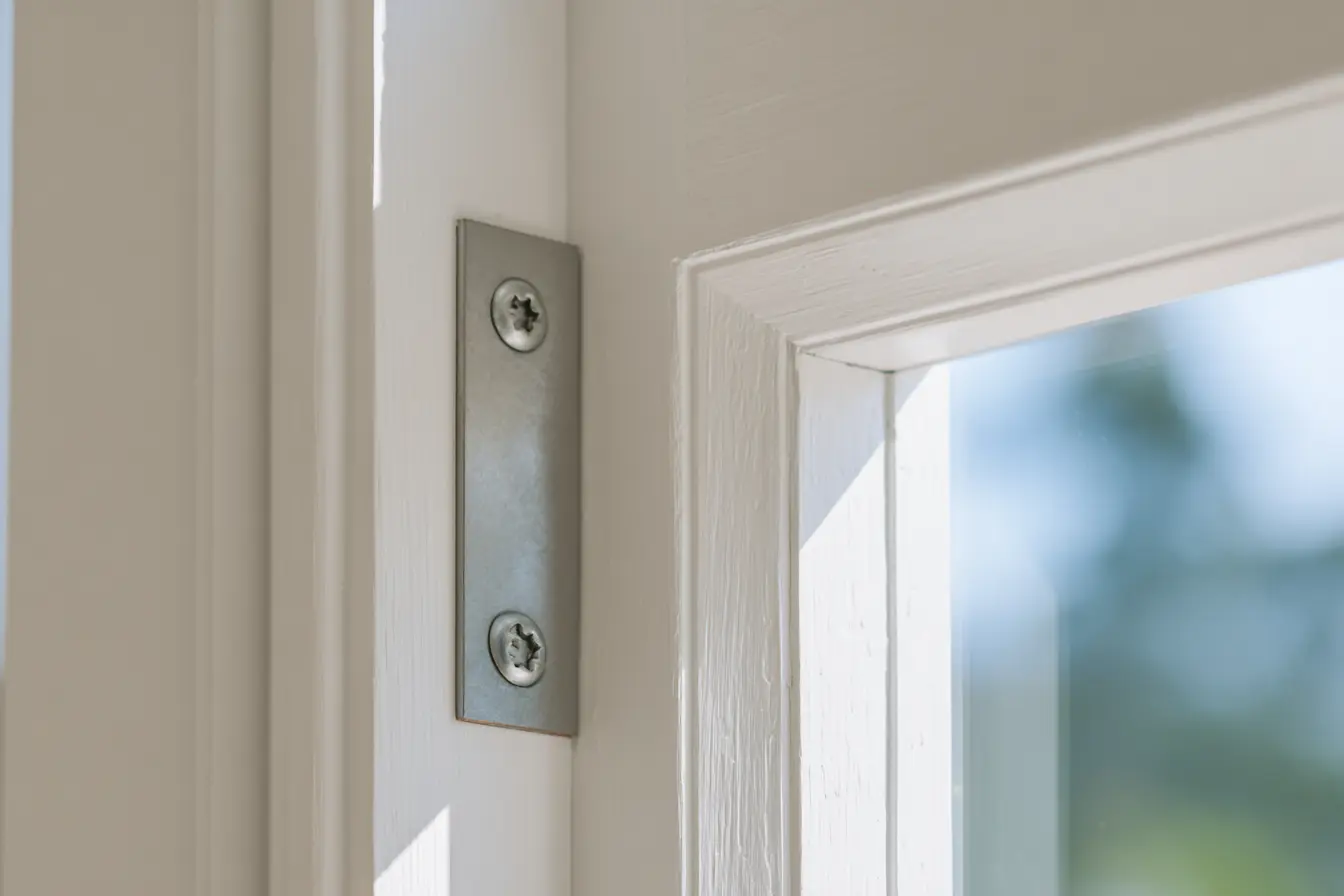
The first thing to understand is that most standard residential doors are a lot weaker than they look. Not because of the lock — because of the frame. The average deadbolt strike plate comes with screws about ¾ of an inch long. One solid kick transfers all that force to those tiny screws sitting in a pine door jamb. The frame splits, the screws pull out, and the door swings open. The lock is fine. The wall around it just gave up. A $6 bag of 3-inch wood screws from any hardware store fixes this. Replace two or three screws in each hinge, and replace the screws in your strike plate. It takes 20 minutes and the improvement is not incremental — it's a completely different category of resistance.

Windows are your second biggest vulnerability and the most neglected. The cheapest window security upgrade in existence is a wooden dowel or a cut-down piece of a broom handle dropped into the track of a sliding window or sliding glass door. It physically prevents the window from being slid open even if the lock is defeated. This costs $0 if you have any spare wood at all, or about $2 from any hardware store. It works on sliding windows, sliding glass doors, and patio doors. Drop it in the track when you go to bed or leave the house.
For double-hung sash windows (the kind that slide up and down), drill a downward-angled hole through the inner sash frame and partway into the outer frame. Insert a hardened eyebolt or a $2 security pin. The window cannot open while the pin is in. This has been the recommended $2 window fix from locksmiths and security professionals for decades. It still works.
- Replace strike plate and hinge screws with 3-inch wood screws — $6, hardware store, 20 min
- Sliding window/door: cut wooden dowel to fit the track — $0–2, prevents forced sliding
- Double-hung windows: drill and insert a $2 security pin through both sashes
- Check all ground-floor window latches — most can be finger-tightened if loose
- Put a security/alarm company sticker on your front door and main windows — even fake ones deter casual attempts
- Leave a light on a timer — an always-dark house at 9pm signals "nobody home"
The security sticker point deserves a moment. Studies on deterrence consistently find that visible signs of a security system — even fake ones — cause opportunistic burglars to move on. A sticker from an alarm company costs nothing if you already have one, or under $5 for a generic "protected by security system" placard from Amazon. We're not telling you to fake a whole system. We're telling you that the sticker on a window costs almost nothing and does something real. Use it.
- Strike plate — 3" screws
- Hinge screws replaced
- Sliding windows blocked
- Sash windows pinned
- Security sticker displayed
- Interior lights on timer
If you read our piece on the 7 locks that scared us, you already know what's probably on your front door right now. A Kwikset. A Defiant. Something that came pre-installed when you moved in and that you've never thought about since. Tier 2 is about fixing that specific problem.
The deadbolt is the single most important piece of physical hardware in your home security setup. Not a camera. Not an alarm. The thing that physically prevents the door from opening. The best value deadbolt we've ever tested — and the one we'd put on our own front doors without hesitation — is the Schlage B60N. It retails for around $40–50 at Home Depot or Amazon depending on finish. It is ANSI/BHMA Grade 1, which is the highest residential security rating. It has a hardened steel anti-pick shield, a full one-inch throw bolt (hollow bolts are common on budget locks), and it comes with a reinforced strike plate and 3-inch screws included in the box. Schlage B60N. $40–50. Buy it.
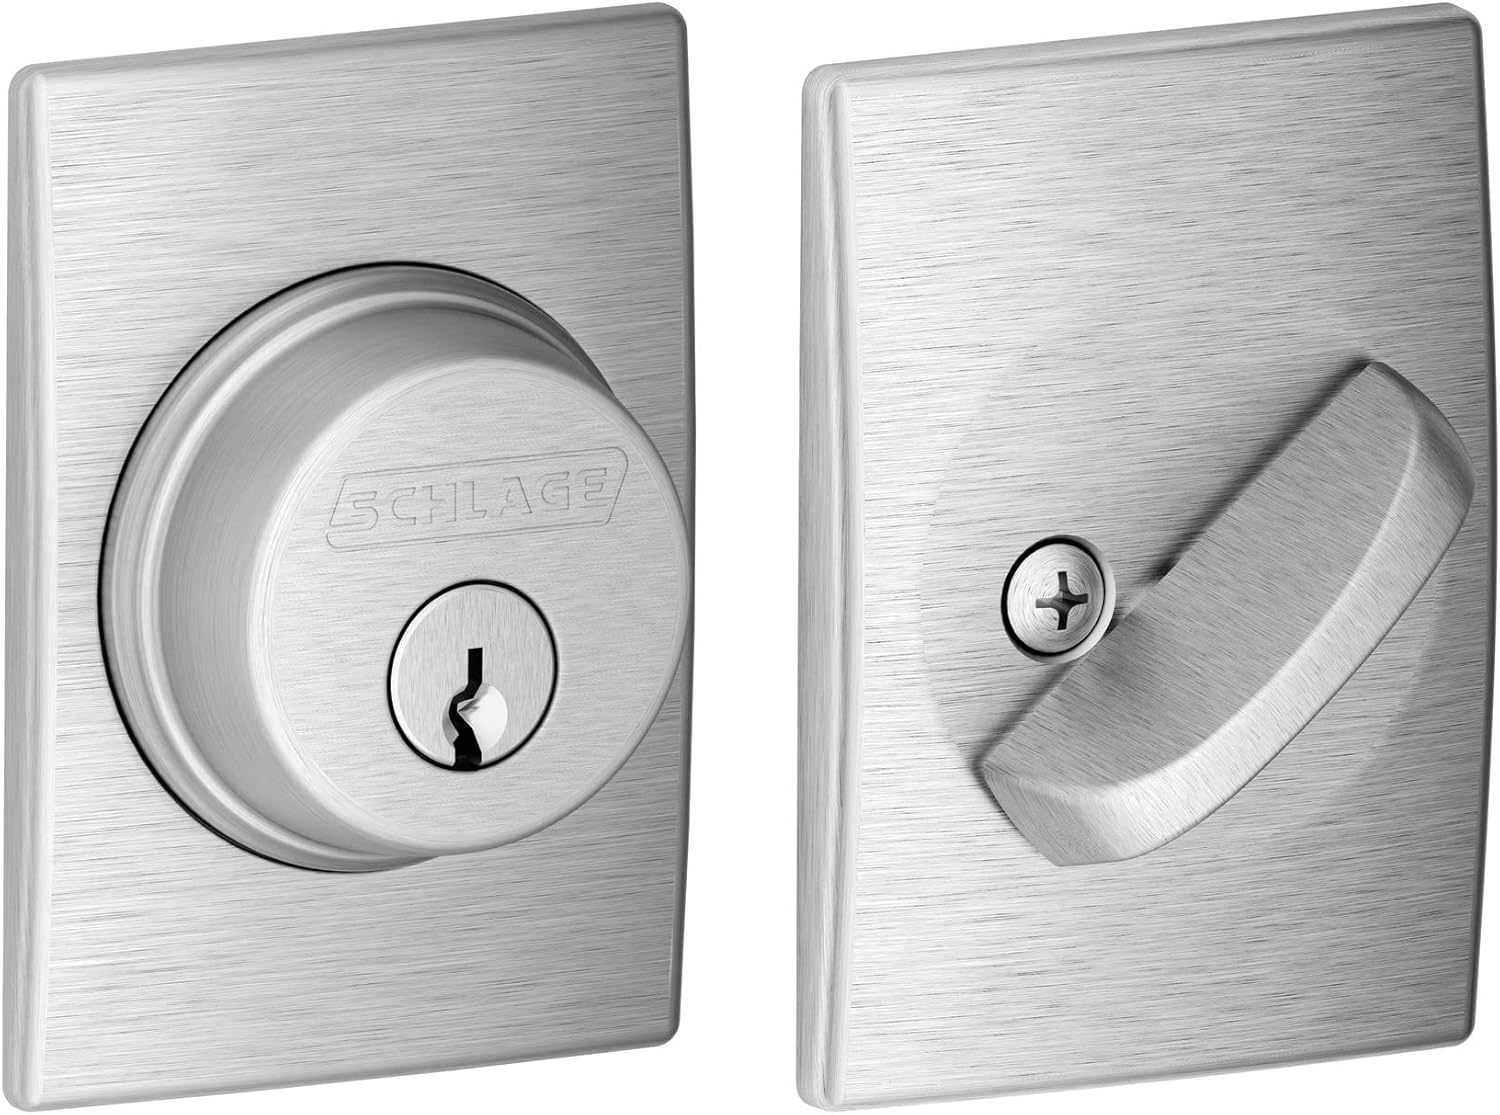
What makes the Schlage worth roughly twice the price of a Defiant or standard Kwikset? Three things. First, the cylinder: it has an anti-pick, anti-bump shield over the keyway that the budget locks simply don't have. In our testing and across every independent review we've seen, it cannot be raked, cannot be bumped, and is exceptionally difficult to pick — unlike Kwikset's standard cylinder, which a beginner can open in under a minute. Second, the bolt: it's solid forged steel, one full inch of throw. Third, the construction weight — pick up a Schlage B60N and a Defiant deadbolt and the difference is obvious. The Schlage is heavier because there's more metal in it. More metal means more resistance. That's not marketing. That's physics.
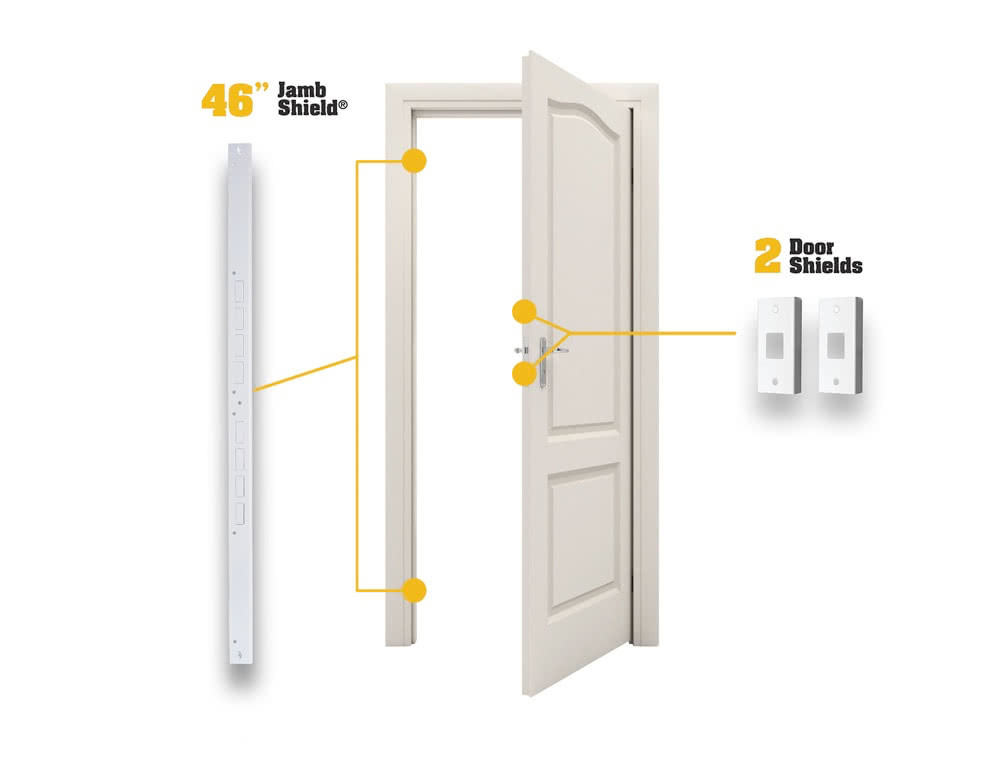
The door frame reinforcement kit is optional at this tier but highly recommended. A standard door jamb is pine. You can upgrade to a Grade 1 deadbolt, replace your screws, and it still fails under a hard kick because the wood around the strike plate cracks and splits. A steel door armor kit — the Door Armor Mini runs about $30 — wraps the jamb in steel and anchors it to the wall stud with 3.5-inch screws. With a Schlage B60N and a Door Armor Mini installed, you have a front door that is categorically, genuinely resistant to kick-in attacks. That's a $70–80 investment total and it's the most impactful $80 you can spend on home security.
- Schlage B60N installed (front door)
- B60N on back/side door if applicable
- Door Armor Mini on main entry
- All Tier 1 items still in place
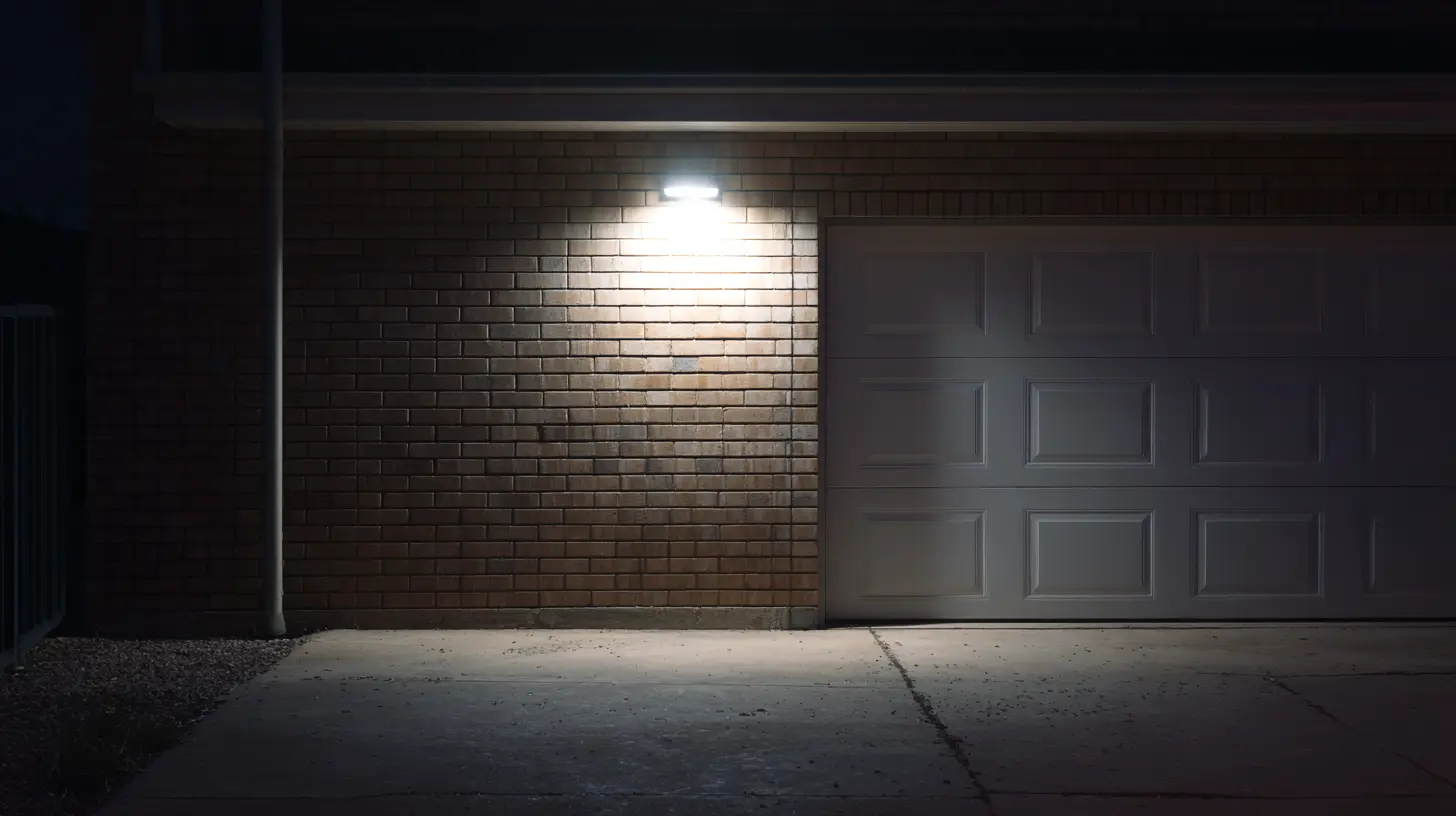
Once your physical hardware is solid, the next best return on investment is exterior lighting. Not just a porch light — motion-activated flood lighting that covers your entryways, driveway, garage, and any dark corners around the perimeter of your home. The logic is simple: most residential break-ins happen when the thief believes they're not visible. A sudden burst of bright light at 2am removes that assumption immediately. It also alerts neighbors and anyone passing by that something's moving.
Solar-powered motion lights have become genuinely good in the last few years. A quality 4-pack from brands like Baxia or URPOWER runs $25–35 and requires no wiring at all — mount them above entry points, over the garage, at the corner of the house. Battery-charged models from LITOM or similar cost a bit more but work in low-sun climates. Put at least one over every exterior door and one covering the driveway approach. A thief doing a visual sweep of your house at night and seeing that kind of coverage will typically move to a less-lit target.
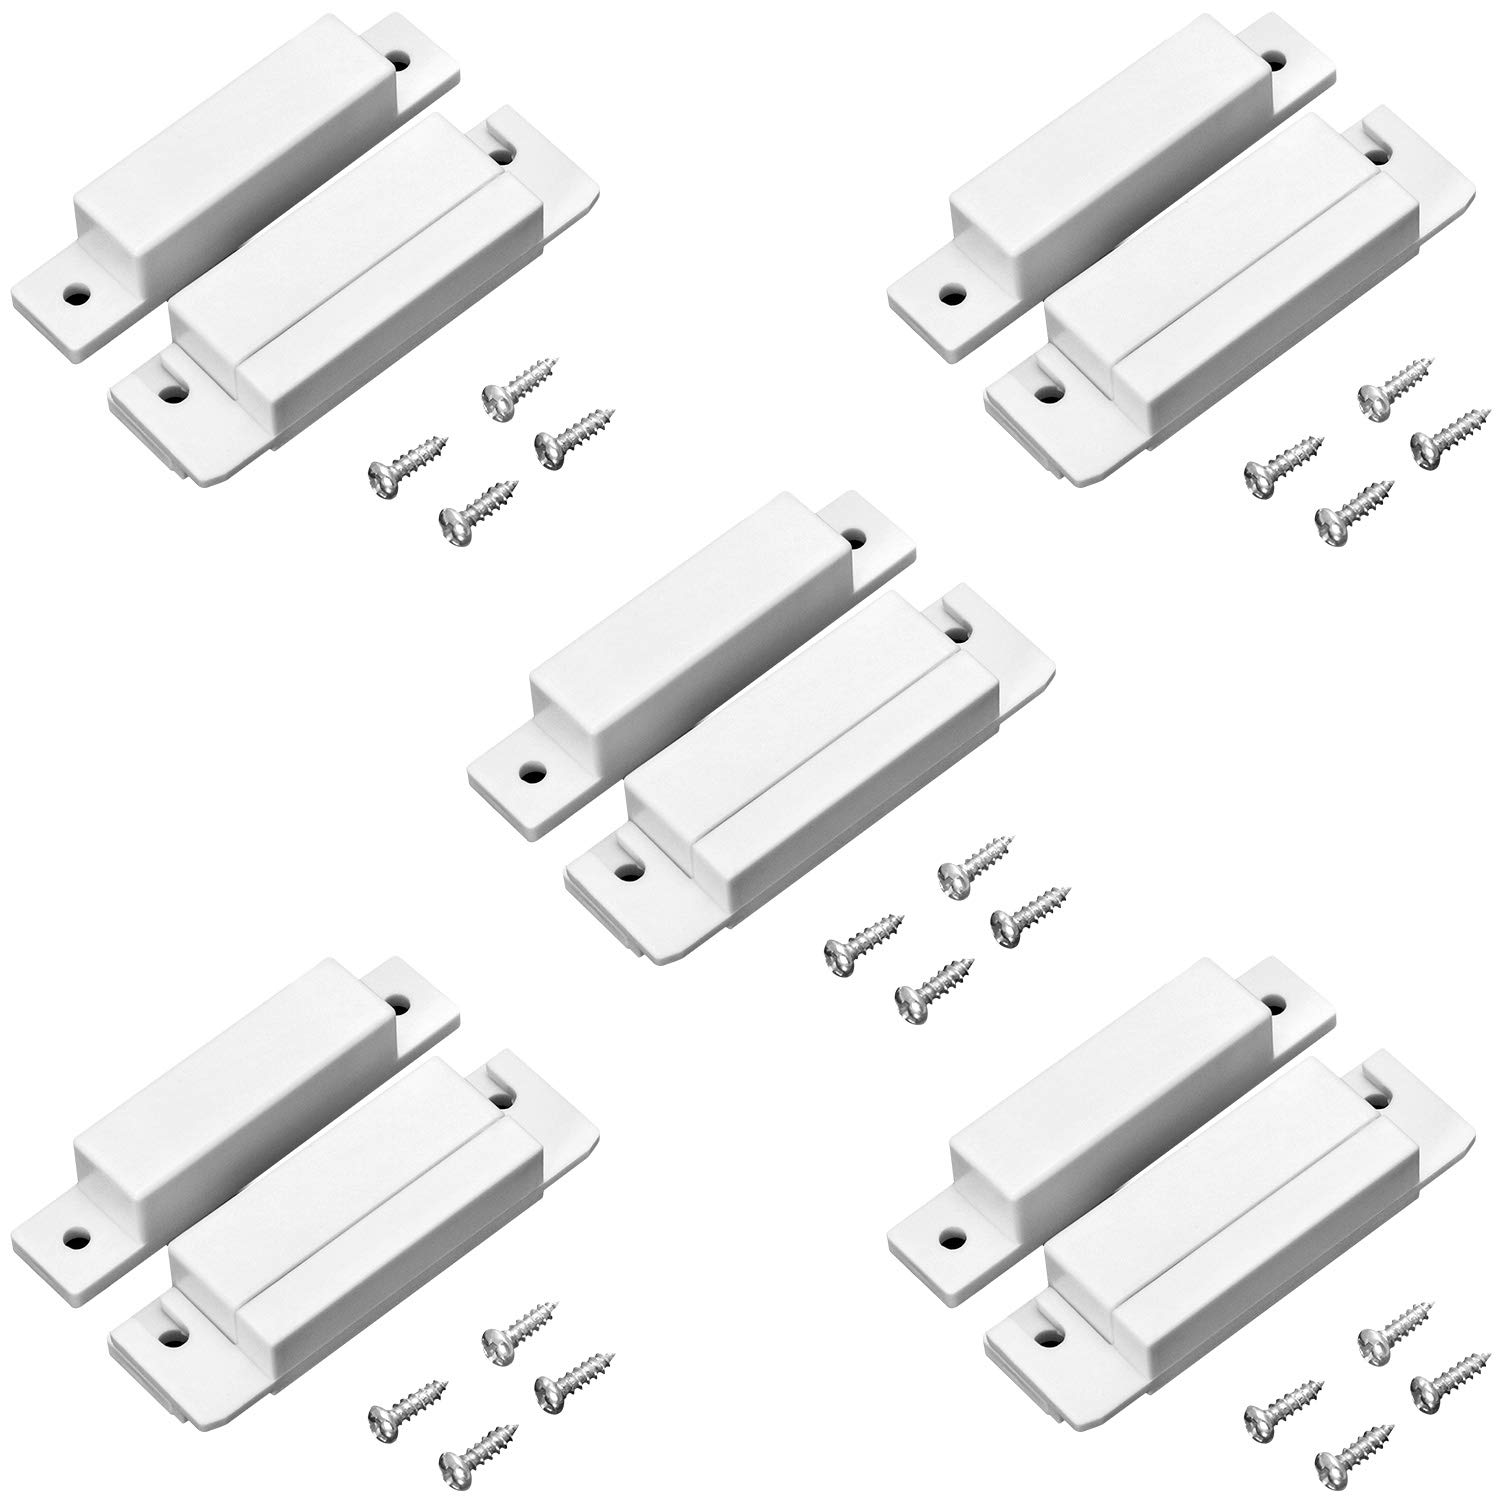
Door and window sensors are the cheapest electronic security layer available. A pack of 8 magnetic contact sensors — the kind that trigger an alarm when a door or window opens — runs about $20–25 from brands like Doberman Security or Wsdcam. These are standalone units, not part of a full system. They stick on with double-sided tape, run on a coin battery for a year or more, and emit a loud 100dB alarm when the contact breaks. They're not connected to anything. They're just loud. That's often enough. Stick them on every ground-floor window and your back door.
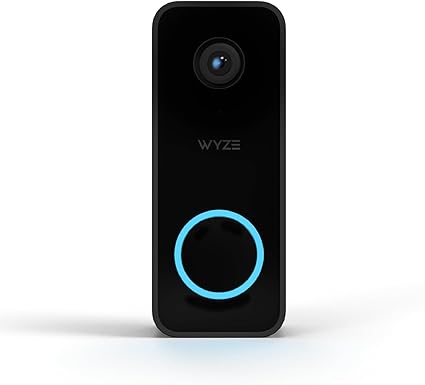
At the top of this tier, we'd add a video doorbell. Not because it stops anything — it doesn't, physically — but because it changes behavior. A visible camera at your front door deters porch pirates, package thieves, and casual intruders doing a pre-visit reconnaissance of the property. The Wyze Video Doorbell v2 at around $40 is the best value we've found: 2K resolution, 166-degree field of view, color night vision, two-way audio, and a microSD slot for local storage so you're not forced into a subscription. If you're already in the Ring ecosystem, the Ring Wired Doorbell at $65 integrates well — but for raw value per dollar, Wyze wins.
- Motion flood lights — all entry points
- Motion light — driveway approach
- Contact sensor alarms — all ground floor windows
- Contact sensor — back door
- Video doorbell installed
- All Tier 1 + 2 items still in place
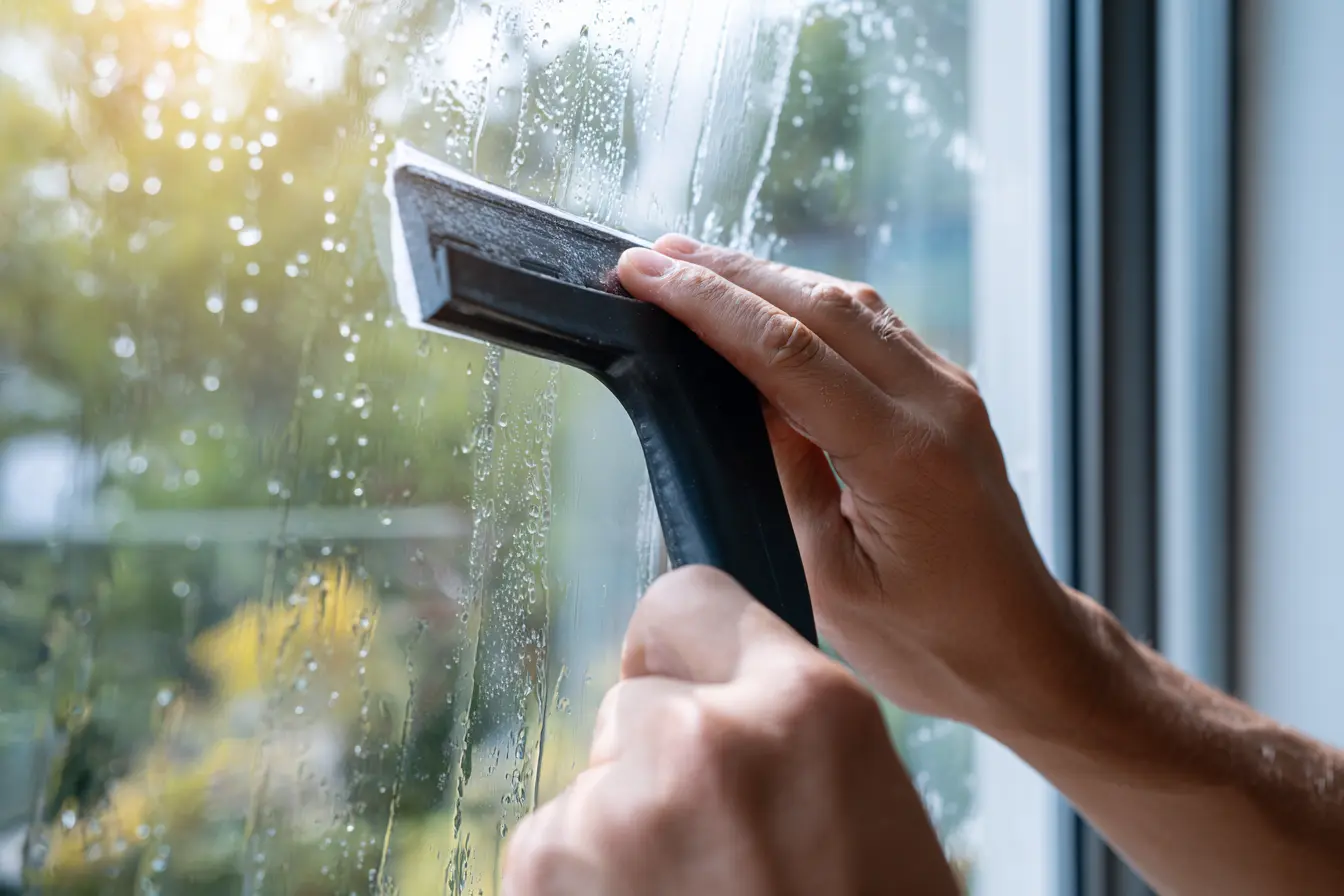
Tier 4 is about coverage — both visual coverage with cameras around the whole property, and physical coverage by addressing the remaining vulnerabilities that tiers 1–3 leave open. The biggest one is window glass itself. A locked window doesn't stop someone with a rock. Security window film doesn't stop it either — but it holds the broken glass together for critical extra seconds, and that friction is often enough for a thief to abandon the attempt.
Security window film runs $8–25 per window depending on size and thickness. Look for film that is at least 8 mil thick. 4 mil film is essentially decorative. 8 mil holds shattered glass together meaningfully. Install it on every ground-floor window, any basement windows, and any windows near doors (the kind where breaking the glass lets you reach the interior door handle). It's a Saturday-morning job with a spray bottle and a squeegee. Most homes have 6–10 vulnerable windows. Budget $80–120 for all of them.

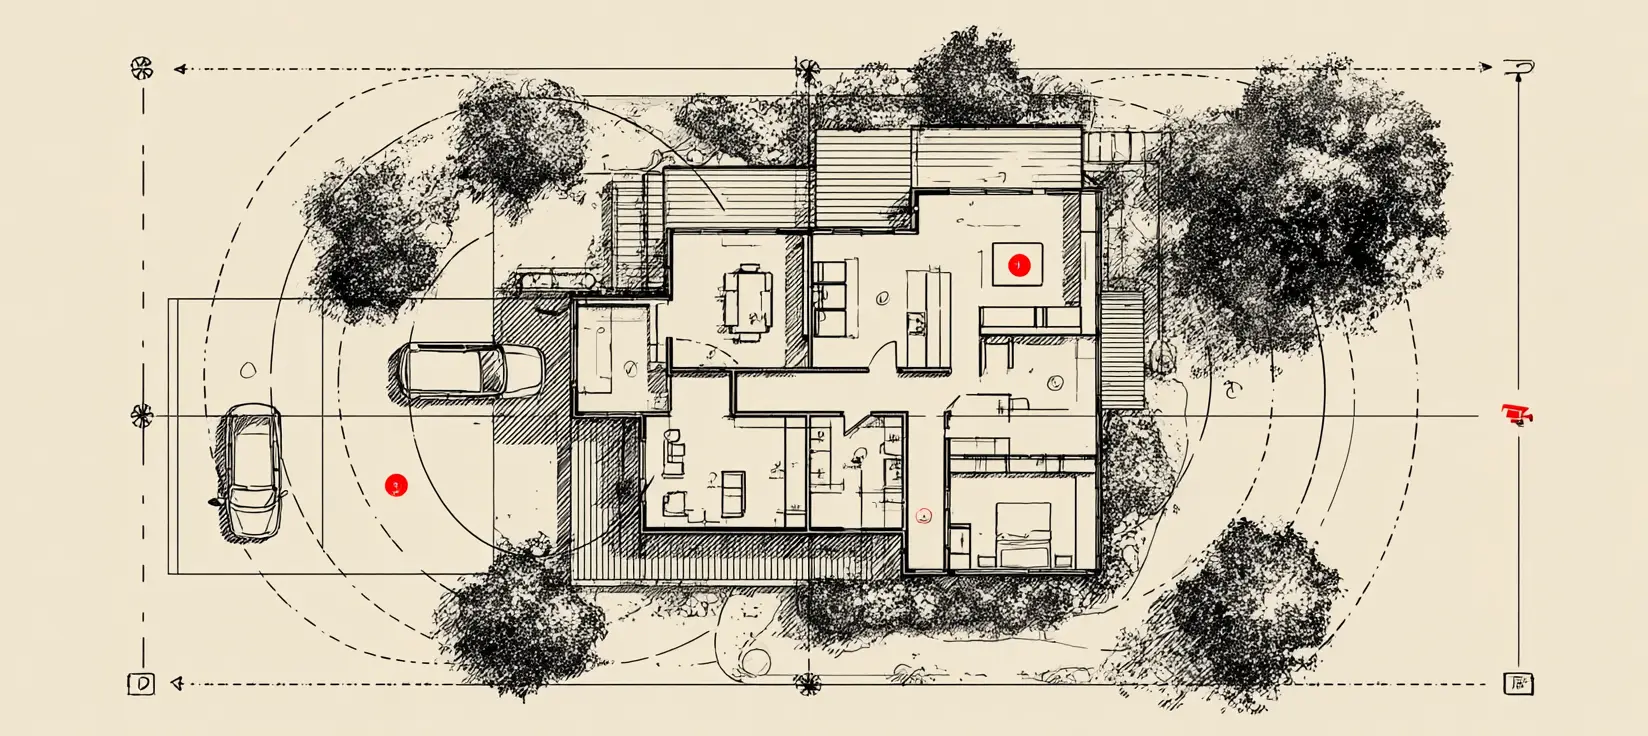
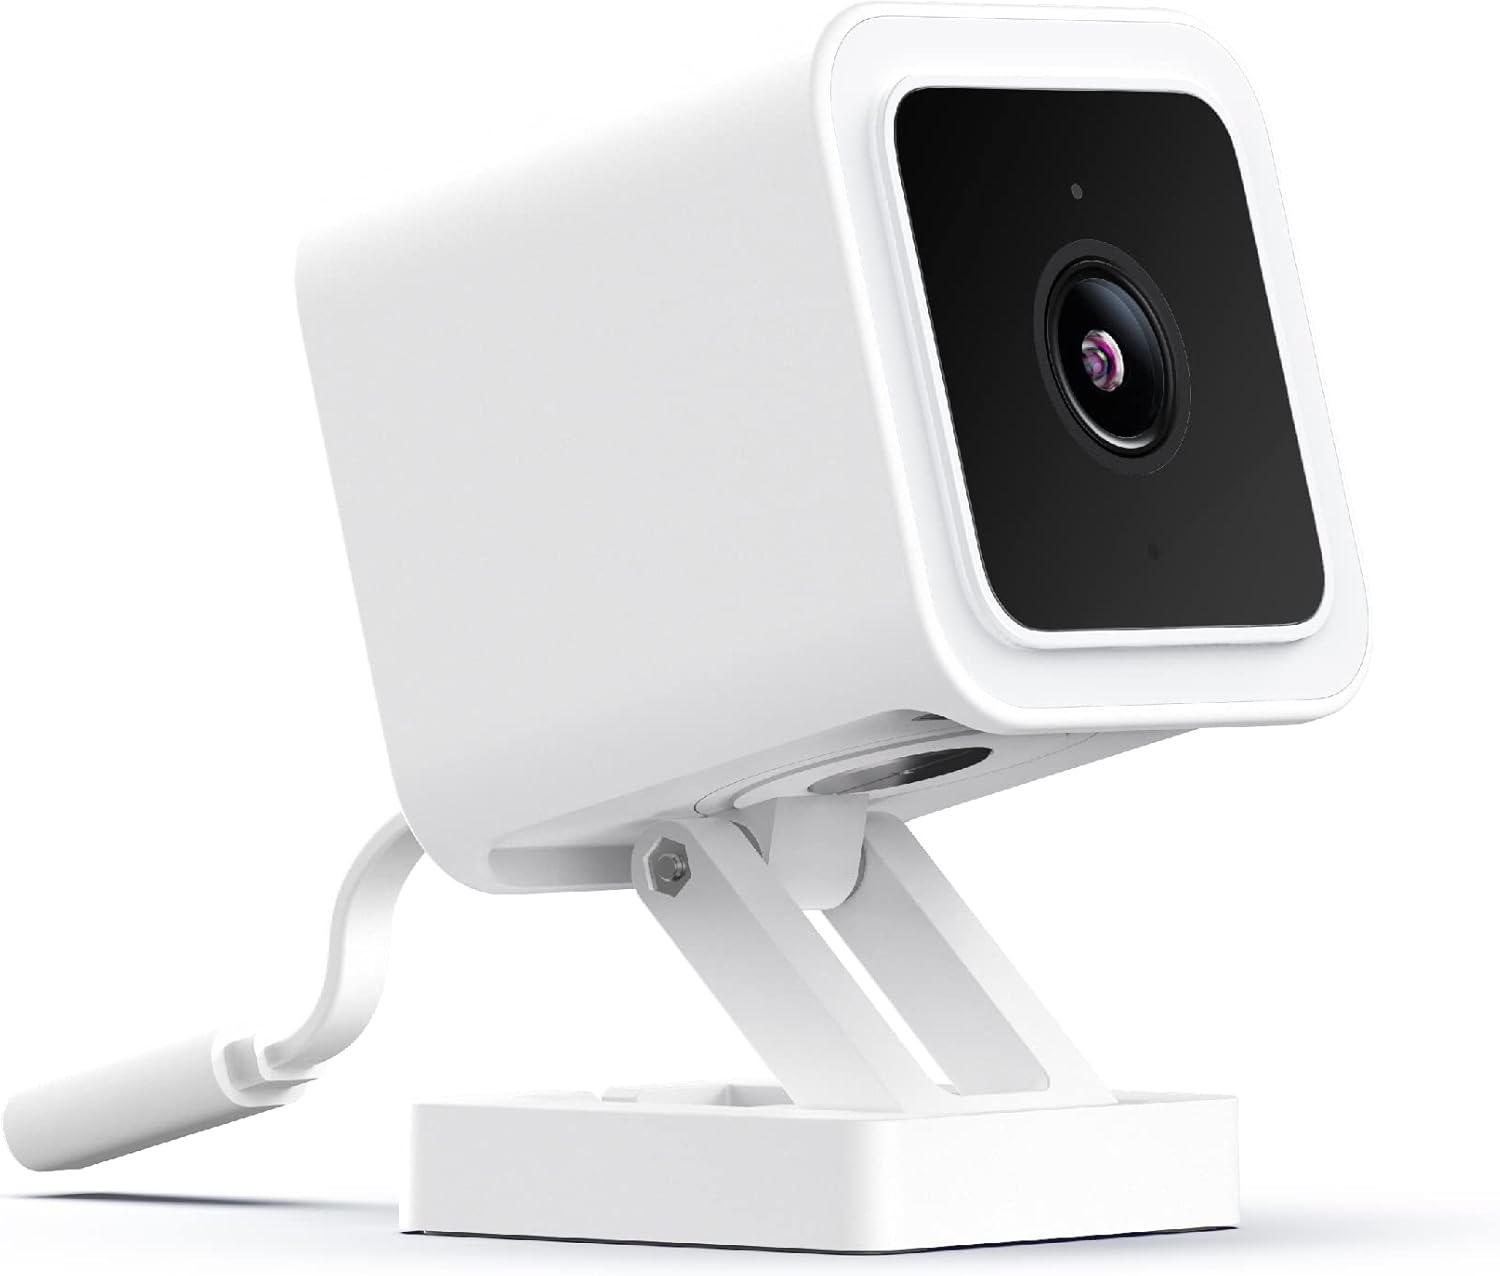
For cameras, the goal at this tier is perimeter coverage — not just the front door, but the back of the house, the side gates, the garage. The Wyze Cam v3 at around $35 is the best budget outdoor camera we've tested. It works indoors and outdoors, has color night vision, records 24/7 to a microSD card without a subscription, and survives the weather. Buy two or three. Put one covering the back door and patio, one covering the driveway and side approach, and leave the doorbell camera covering the front. Three cameras covering your full perimeter costs about $100–110 for the Wyze units.

The other Tier 4 addition is a proper entry alarm for your main doors. Not just the contact sensors from Tier 3 — something with a keypad, a siren, and a delay so you can arm and disarm it. The Ring Alarm 5-piece starter kit runs about $200 and includes a base station, a keypad, a motion sensor, and two door/window sensors. It connects to your phone, has optional professional monitoring for $10/month, and the siren (105dB) is loud enough to be heard from the street. If you're already using Wyze cameras, the Wyze Home Monitoring starter kit at around $100 is a more budget-friendly alternative — it integrates with your existing cameras and has professional monitoring for about $10/month as well.
Cameras capture what happened. Physical barriers prevent it from happening. Spend in that order.
— NPZ Security Philosophy- Security film on all ground-floor windows
- Wyze Cam v3 — back of house
- Wyze Cam v3 — side/garage approach
- Entry alarm system + keypad
- Sliding glass door security bar
- All previous tiers still in place
By the time you reach Tier 5 you have a genuinely well-secured home. The final layer is about eliminating the remaining weak points, adding redundancy to the most critical systems, and making access management smarter. This tier isn't about spending more money on the same problems — it's about the things earlier tiers can't address.
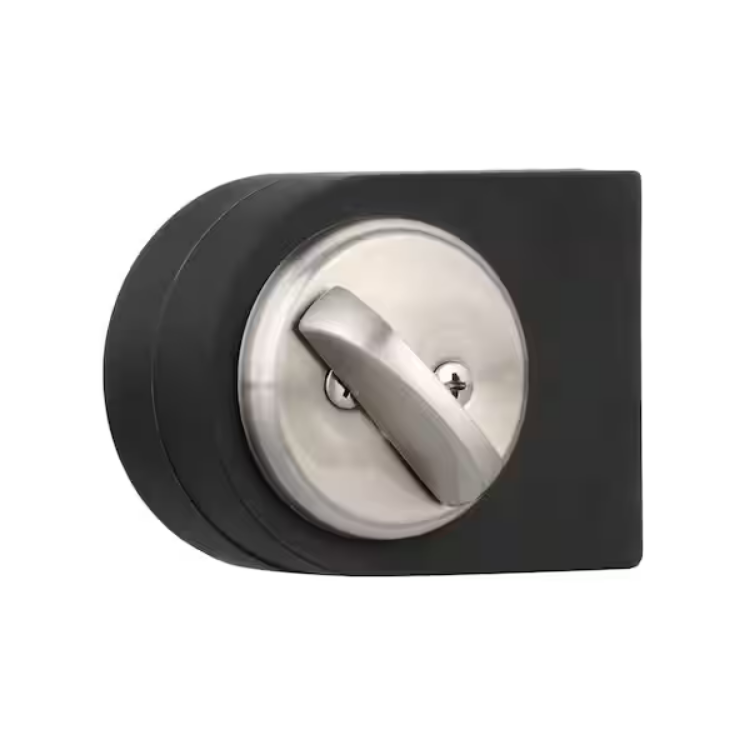
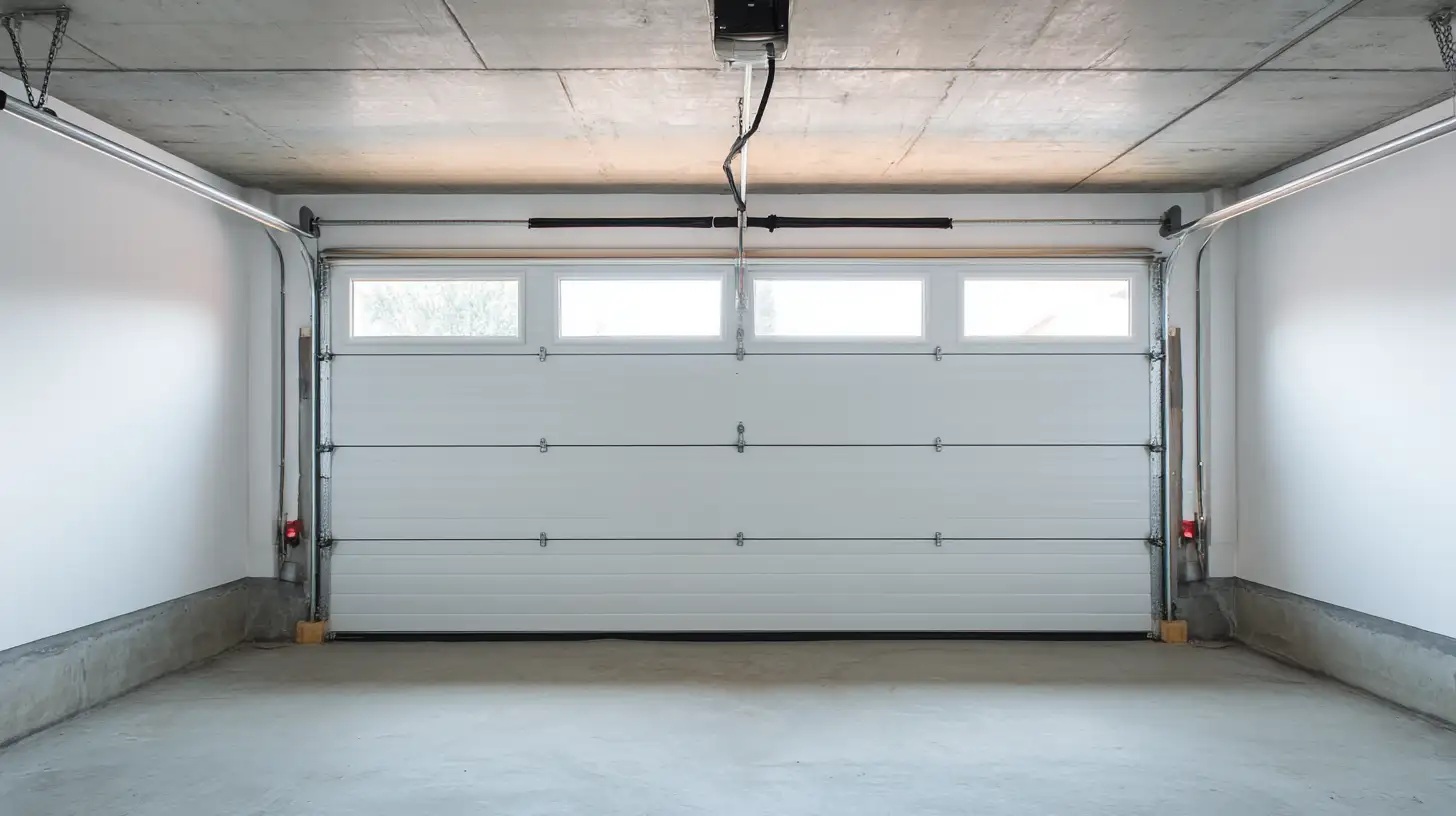
The biggest remaining vulnerability in most Tier 4 setups is the garage. Garage doors are frequently the easiest entry point in a home — the mechanism can be defeated with a wire hanger through the weather seal in seconds (look up "emergency garage door release bypass" if you want to understand how widely documented this is). A garage door defender or locking bar — about $30–40 — physically prevents the door from being lifted even if the opener is triggered. If your garage connects to your home's interior, treat that interior door exactly like your front door: Schlage B60N, Door Armor reinforcement, the works.
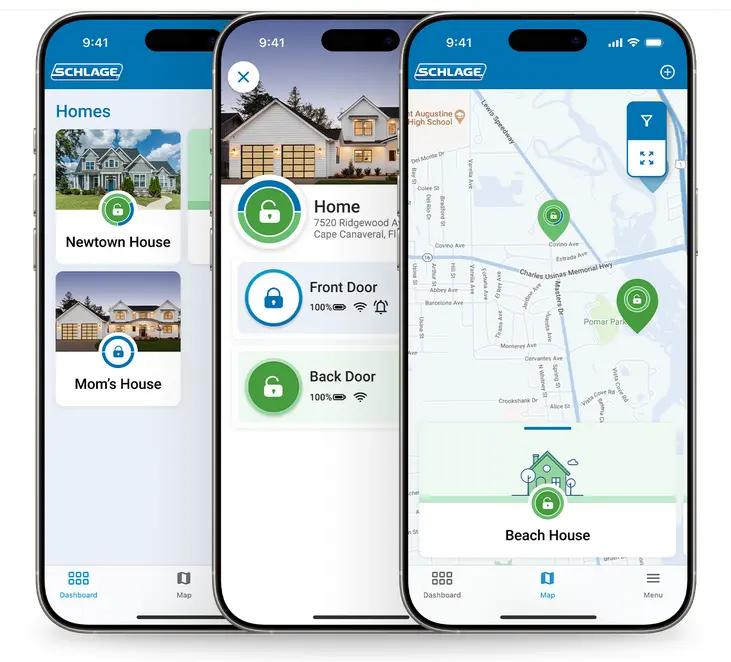
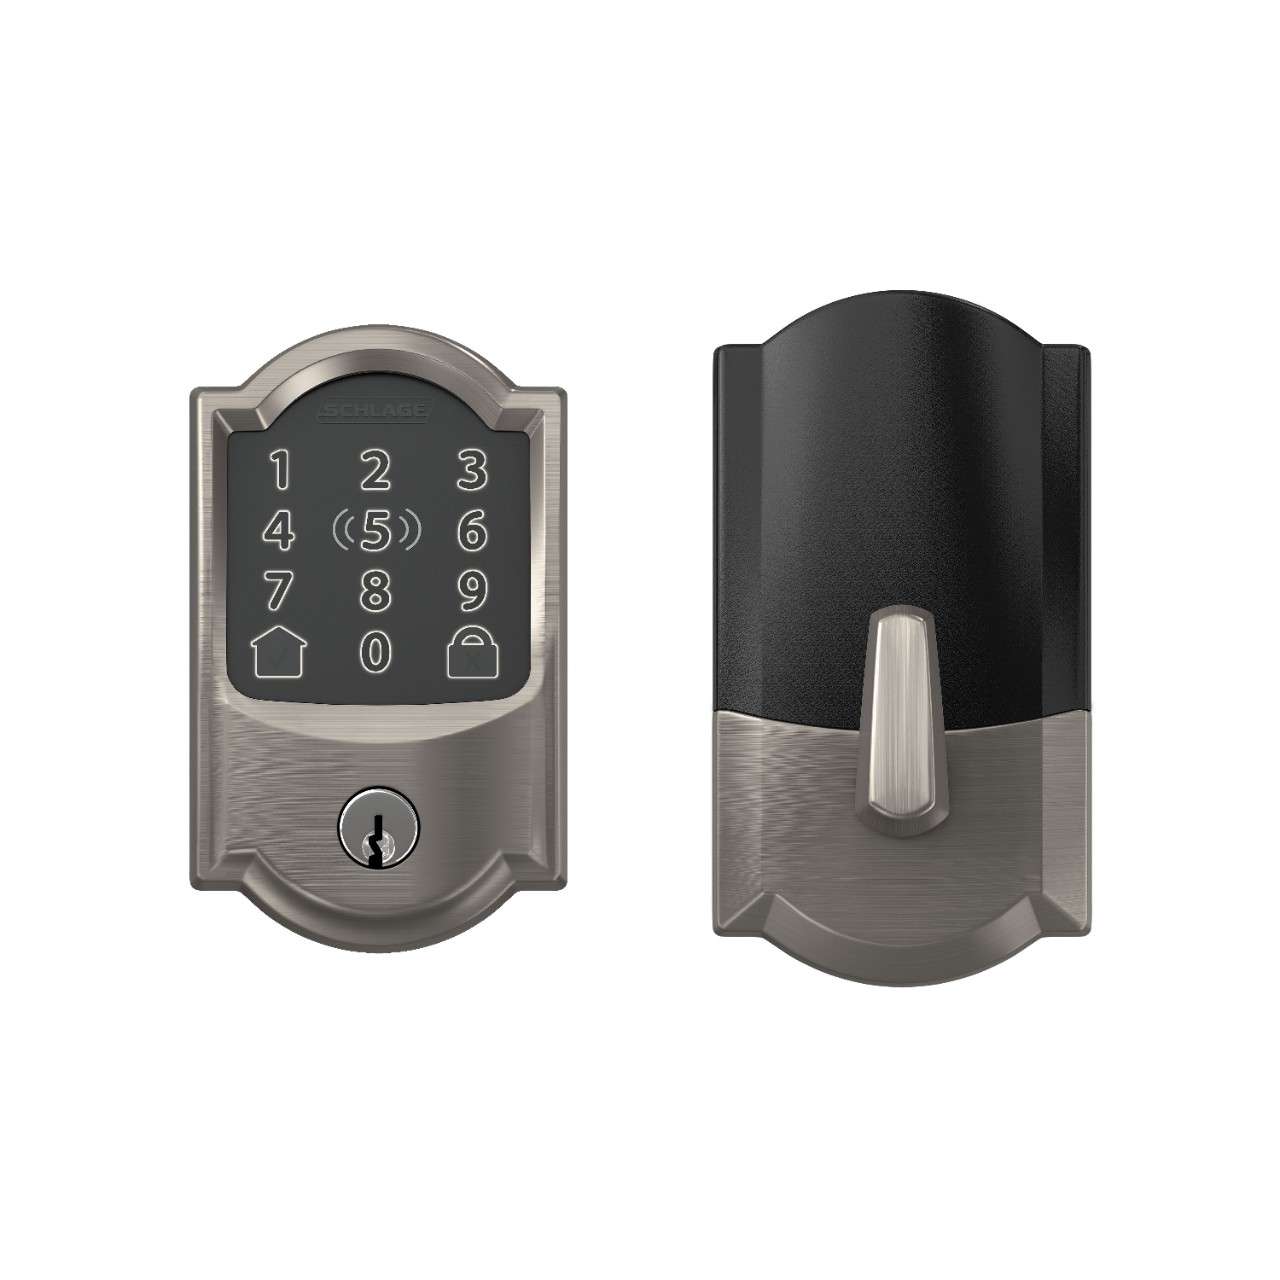
At Tier 5 we'd also upgrade one lock — the front door — to a smart lock. Not because keypad entry is more secure than a keyed deadbolt (it isn't, necessarily), but because smart access control changes your security posture in practical ways. You can give a house cleaner a time-limited code that expires when they leave. You can see exactly when your kids got home. You can lock the door remotely when you realize you forgot. The Schlage Encode Plus (around $170–200) is the only smart lock we'd recommend at this tier because it's built on the same B-series security platform as the B60N — same anti-pick cylinder, same Grade 1 rating — with WiFi and Apple Home Key added. Do not buy a smart lock that sacrifices the mechanical security of the cylinder for the smart features. That's trading something real for something convenient.
The final Tier 5 additions are a secondary camera for interior use and, if budget allows, a proper security safe for valuables and documents. For interior cameras, the Wyze Cam Pan v3 at about $38 covers a wide area and can scan the full room — put it pointing at the main entry point from inside. For a safe, do not buy a big-box fire safe — you've read our piece on SentrySafe. If you're storing firearms or important documents, you need a UL-listed safe with a mechanical Group 2 combination lock or better. That's a separate investment we'll cover in a dedicated guide, but the short answer is: anything under $300 that came from Walmart probably isn't a safe. It's a box that will slow down someone who doesn't know what they're doing.

- Garage door defender installed
- Interior garage door — Schlage B60N
- Schlage Encode Plus — front door
- Interior Wyze Cam Pan
- All previous tiers still in place
- Consider: UL-listed safe for valuables
| Tier | What You Get | Approx. Cost | Running Total |
|---|---|---|---|
| Tier 1 | 3" screws, window pins, dowels, sticker, timer | $0–10 | $10 |
| Tier 2 | Schlage B60N + Door Armor Mini | $70–80 | ~$90 |
| Tier 3 | Motion lights, contact sensors, video doorbell | $80–100 | ~$190 |
| Tier 4 | Window film, 2× cameras, entry alarm | $170–200 | ~$390 |
| Tier 5 | Smart lock, garage defender, interior camera | $240–285 | ~$500 |
| Complete Full-Stack Setup | $400–500 installed yourself | ||
Start With Tier 1. Build From There.
If you take one thing from this guide, let it be this: the highest-impact security upgrades cost the least. A $6 bag of screws and a wooden dowel cut to fit your window track does more to protect your home than a $200 camera that you won't check until after something goes wrong. Physical barriers first. Always.
Build this setup in order. Don't skip tiers because you want the smart lock before you've fixed your strike plate. The smart lock on a door with a $6 pine jamb and original half-inch screws is a security theater prop. The screws are boring. Install them anyway.
We'll be adding specific product reviews for every item in this guide. The Schlage B60N review is already up. The Wyze Cam v3, Door Armor, and window film reviews are coming. Bookmark this page — we'll update the links as they go live.